Pointer instrument control
Features
If we want to achieve an instrument or clock rotation similar effect, this control can be easily achieved. This control is specially designed to handle graphics rotation.
Thinking
If we want to realize an instrument, we can disassemble it into two parts, the static background image as the dial and the pointer image that rotates on the background image.
Therefore, after selecting the background image and the pointer image, we only need to determine the center coordinates of the pointer rotation.
How to use
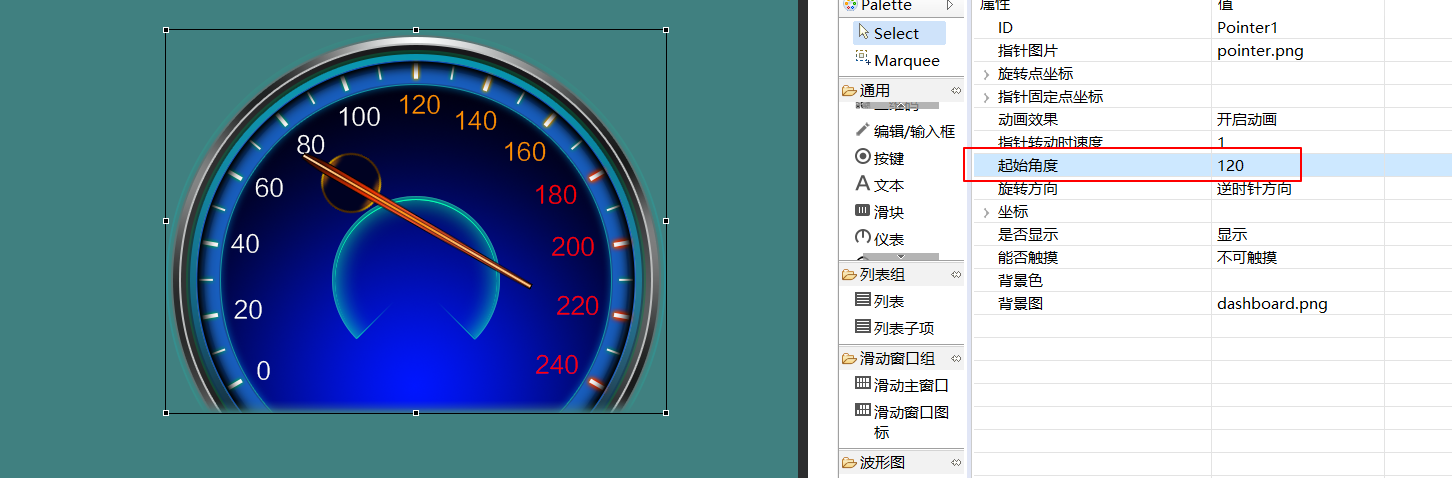
We first create an instrument control, you can see that it has the following properties:

If you still don’t know how to create a control, you can refer to How to create a button control
In the attribute map, you can see that I have added pointer image and background image The adding process is shown in the animation:
Judging from the final preview image above, no problems were found, and the background image and pointer position looked normal. However, after the program actually runs, it is wrong. For quick and easy adjustment, we can set the starting angle property to other degrees (default is 0), here we adjust it to 120, we can find that after the pointer is rotated by 120°, the result of the pointer rotation is not what we expect Like that.
The reason for this is that the coordinates of the center of the circle where the pointer rotates are incorrect.
There are two properties that determine the coordinates of the pointer rotation center, they are rotation point coordinates and pointer fixed point coordinates- Rotation point coordinates
The coordinates are in reference to the entire control rectangular area. The upper left corner of the control rectangular area is [0,0], in pixels. For such an instrument, obviously the coordinates of the rotation point we want are in the center of the dial , Then the specific coordinates of the corresponding picture are (250,250),As shown below:
- Rotation point coordinates
- Pointer fixed point coordinates
The coordinates refer to the pointer picture, the upper left corner of the picture is [0,0], and the unit is pixel. For such a pointer picture, the fixed point coordinates of the pointer we want is (30, 210)
After filling the two coordinates into the attribute table, you can see that the pointer rotates to the correct position

The starting angle supports negative numbers. In the above example, if change the starting angle to -120, the pointer just points to the dial 0 position.
Tips on pointer fixed points
In the above example, the coordinate of the fixed point of the pointer is located in the pointer picture. In fact, this coordinate can also exceed the range of the picture to achieve the effect of the cursor. As shown in the figure below, the white in the red box is actually a pointer picture, which is relatively small, but in the properties on the right, I set the pointer fixed point coordinates far beyond the real size of the picture, and then adjust the rotation coordinates to achieve a circle The effect of the ring cursor.

Operation method
The most common method for this type of control is to adjust the rotation angle of the pointer through code.
//Adjust the pointer to 90 degrees
mPointer1Ptr->setTargetAngle(90.0);
Sample code
For the use of specific instrument controls, refer to the PointerDemo project in Sample Code